Disclosure: Some of the links below are affiliate links. This means that, at zero cost to you, I will earn an affiliate commission if you click through the link and finalize a purchase. Learn more!
In this tutorial, I'll be explaining to you step-by-step how to set up animated Twitch alerts inside Streamlabs. This way, whenever someone follows you, subscribes, or donates, their name will pop up on the screen.
Getting Started
The first thing that you're going to do is get Streamlabs desktop open on your computer. If you do not already have this on your computer, you can download it here.
We're going to start by selecting the 'Gameplay' scene as this is where we're going to be setting up the alerts. If you have never set up a gameplay scene inside Streamlabs before, definitely check out this video here first.
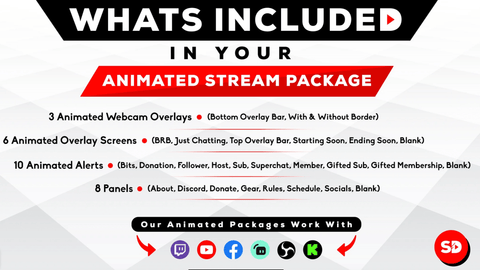
Now, we want to begin setting up our animated alert overlays. The ones that I'll be using today are from Stream Designz. They have tons of animated overlay packages to choose from that match the needs or aesthetics of all streamers. These are really easy to use and they go a long way towards making your stream look professional.
Today I'll be using the 'Pixel World' animated overlay package.
This package will include all of the alert overlays that you need and much more. You can see what the full package looks like and what all comes in it below.

You can also buy just the alerts by themselves, which you can check out here if you want, but having the whole matching package will definitely help your stream look cohesive and professional.
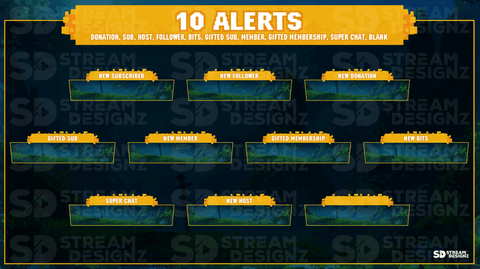
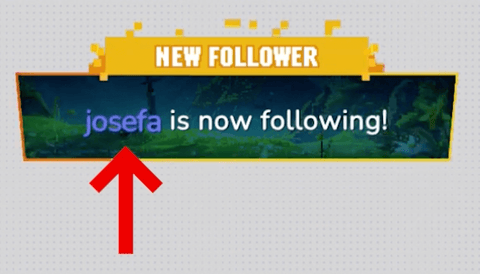
You can see that this has your 'New Follower' alert, 'New Subscriber' alert, and all of the other alerts that you'll need.
Once you've chosen your overlays, you can head back over to Streamlabs.
If you did purchase your overlays from Stream Designz, they will come downloaded as a zip file. Before you can use the overlays, you need to unzip the file. If you're on a Mac, double-click on the zip file and this will create a new folder with the overlays inside of it. If you're on a Windows, right-click the zip file and select 'Extract'. This will also create a new file with the unzipped overlays inside of it. Now, your overlays are ready to be used!
Though Streamlabs does allow you to set up your overlays directly inside of it, there are some limitations to the customizations that you can do. Due to this, we're also going to be utilizing StreamElements today.
Once you're on StreamElements, go ahead and get logged in with either your Twitch or YouTube account. You can use whichever one of these that you want to be able to stream to and have the alerts pop up on. For this example, I will be using Twitch.
Adding Your Alerts
Once you get logged in to StreamElements, go over to the left-hand side and click on 'Overlays'. Then, select 'New Overlay', and this will bring us to the editor inside of StreamElements.
Go ahead and press 'Start', then select 'Add Widget', and then 'Alert Box'. This is going to go ahead and give us everything that we need to get this set up. You'll have your 'Follower Alert', 'Subscriber Alert', 'Tip Alert', 'Cheer Alert', Raid Alert', and 'Purchase Alert'. I'm going to explain how to do a few of these, and then the rest will follow exactly the same steps as the ones before it.
Let's go ahead and start with setting up the 'Follower Alert'. Press the gear icon and then select 'Change Video'. Press 'Select File' and then locate the folder with the files that you unzipped earlier. If you bought the full alerts package from Stream Designz, there will be a folder titled 'Alerts'. In this folder, you'll select the 'New Follower' file. Press 'Open' and then you should see the alert pop up.
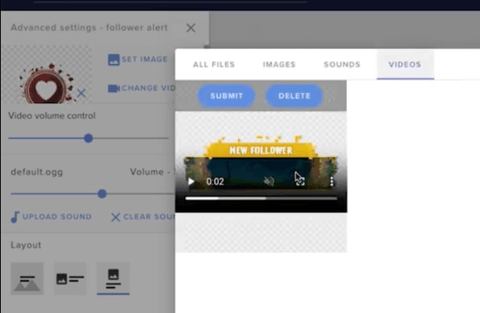
If you do not see the alert pop-up, make sure that you are using a Chrome browser. For some reason, StreamElements does not mix well with Safari or any other browser.
Once you see the alert, press 'Submit', and then you'll see the alert in the settings. At the bottom of the screen, you'll see a button that says 'Emulate'. Try using this and select 'Follower Event'.
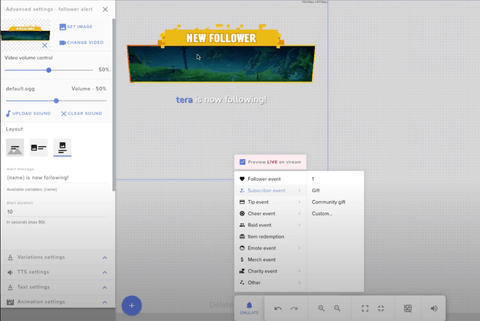
You can see here that the name is not where it's supposed to be. If you got your overlays from Stream Designz, you'll be able to follow these exact steps in order to set yours up. If you didn't get yours from Stream Designz, this is going to be a bit different for you.
On the left-hand side, go to where it says 'Text Settings' and then select 'Advanced'. Where it says 'Top' under 'Margin', set this to '-175'. Then, under 'Size', set this to '40'.
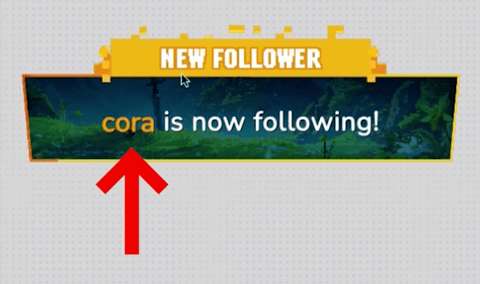
Now, go ahead and emulate the follower event again. This should leave the text right in the middle of the alert overlay.
Next, we want to change the color of the text to match the alert. To do this, go to where it says 'Highlight'. This is where you can change the color of the text. I'm going to look for the closest possible color to what I want, but this will of course be different for everyone depending on the overlay package that you have.
Once you have the color that you want, or if you just want to test a color, all you need to do is press 'Emulate' and then 'Follower Event' again.
Now, your first alert is all set up and we can move on to the next one.
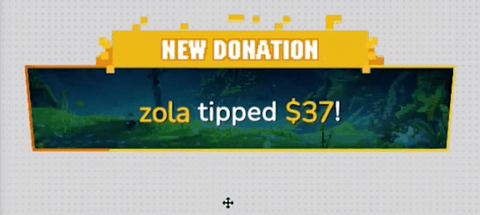
For the second one, let's get the 'Tip Alert' set up.
Start by pressing the gear icon next to the alert and by selecting 'Change Video'. Find the file for your overlay; if you have the Stream Designz package this overlay will be labeled as 'New Donation'. Press 'Open', and then when you see it pop up, select 'Submit'.
Following the exact same steps as before, scroll down to 'Text Settings', and then go to 'Advanced'. Make sure that the 'Top' is set to '-175'. Then, you can go ahead and adjust the color under 'Highlight' to match the overlay.
Head over to 'Text' settings and be sure to change the 'Font' to '40'.
Now, you can emulate the 'Tip Alert', and it should all look correct.
Adding Sound
One of the things that I personally like to do is to utilize Epidemic Sound to add a background sound effect to the alerts. StreamElements will automatically have a default sound effect when the alerts play, but I prefer to have one that is personalized to my stream.
The main reason that I use Epidemic Sound is because it's all copyright-free music. I can use this across all social media platforms without the fear of getting any copyright strikes, having the audio of any videos muted, or even having a video deleted.
Epidemic Sound is not a free platform, but there is a 7-day free trial if you want to test it out before purchasing it.
One really great feature that they have is the 'Safelist'.
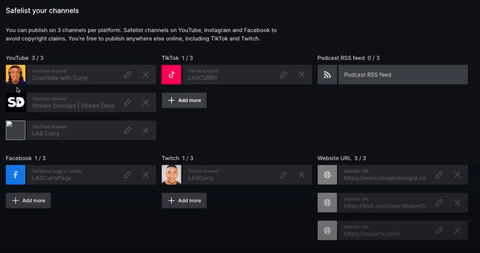
Once you have your different accounts linked, it will allow you to use any of their music or sound effects in any of your videos or livestreams. You can add your YouTube, TikTok, Facebook, Instagram, Twitch, and website.
Epidemic Sound offers over 40,000 songs and over 90,000 sound effects for you to be able to use.
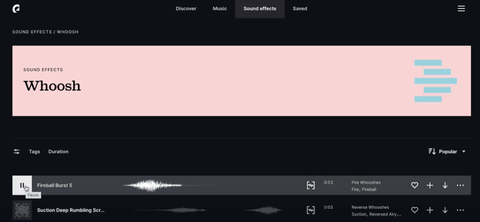
I'm going to go into 'Sound Effects' and search for 'Whoosh' sounds. Once you do this, it will pull up a list of sounds that you can listen to and decide which is the right one for you.
Once you find one that you like, you can press the download button. This will ask you what kind of file you want to download it as, and we're going to be using the 'MP3' file. This will then download to your computer, and I'm going to make sure that it is saved to my desktop.
Now, you can go back to StreamElements to add the sound effect.
To do this, go into the settings of one of the alerts that we've already set up and press 'Clear Sound'. Then, select 'Upload Sound' and file the file that you've just downloaded from Epidemic Sound and put into your desktop files. Select the file, press 'Open', and then select 'Submit'.
I'm also going to drop the volume down to about '30%'. Now, when I emulate the 'Tip Event', I'll be able to hear the sound effect along with it.
Adding the Overlays to Streamlabs
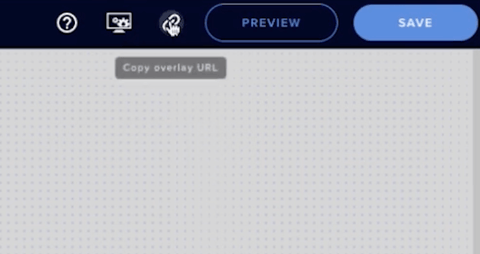
Next, you're going to want to go through all of the other events and adjust their settings, add in the overlays, and add in the sounds. Once you finish this, press 'Save' in the top-right corner, and let's name this "Alerts for Streamlabs". Then, select 'Copy Overlay URL'.
Now, we need to head back over to Streamlabs and select the 'Gameplay' scene. Then, go to 'Sources', press the plus sign icon, and select 'Browser Source'. Click 'Add Source', let's name this "Alert Box", and then click 'Add Source' again. This will then give you the option to paste in the URL from StreamElements.
Once you paste this in, press 'Close', and then you can adjust this to where you want it to be. To see this, head back over to StreamElements, press 'Emulate' one or two times, and then quickly go back over to Streamlabs to see and adjust the alert.
Now, whenever someone follows, subscribes, or donates to you, their name will pop up during your stream with the animated alert overlay.
The next thing you're going to want to get set up is your 'Just Chatting' scene. To learn how to do this, check out this video here. It will walk you through, step-by-step, how to set up your 'Just Chatting Scene'. This is what allows you to interact with your viewers, so you definitely want it to look as professional as possible.

Share:
Streamlabs - Adding Stream Labels (Follow, Dono, Subs)
How to Setup a Just Chatting Scene in Streamlabs