Disclosure: Some of the links below are affiliate links. This means that, at zero cost to you, I will earn an affiliate commission if you click through the link and finalize a purchase. Learn more!
In this tutorial, I'll be explaining to you how to set up your most important overlays inside Streamlabs. These are things like your 'Starting Soon', 'Countdown', 'Be Right Back', 'Stream Offline', and your 'Gameplay' scenes.
Adding Your Sources
The first thing that you'll need to do is have Streamlabs open and ready to go. If you do not have Streamlabs downloaded already, you can download it here.
When you first open Streamlabs, you'll see in the bottom left corner that you have "Scenes' on the left and 'Sources' on the right.
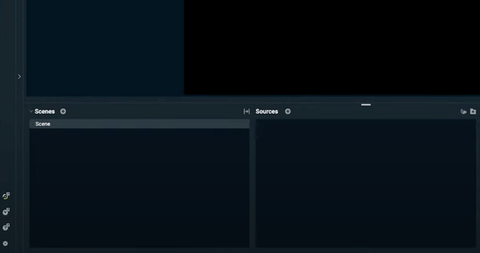
Scenes are the different screens that you switch between while you're streaming (like the 'Starting Soon' scene or the 'Be Right Back' scene).
Sources are going to be the things that are included within those scenes (like your overlays).
We're going to start by setting up all of our scenes.
By default, you'll already have one scene that is named "Scene". Right-click this, select 'Rename', and let's title this "Starting Soon". Press 'Done'.
The next one that we're going to add will be our 'Countdown Timer'. To do this, press the plus sign icon next to scenes, name this "Countdown Timer", and select 'Done'.
Press the plus sign icon again, let's name this "Be Right Back", and select 'Done'.
You'll also need to add "Stream Offline" and "Gameplay" scenes following the same steps as above.
These are going to be all of our most important scenes, and now we can move on to 'Sources' which is where we will be filling the scenes with our overlays.
Adding Your Sources
For this tutorial, I'll be using an animated overlay package from Stream Designz. There are tons of different overlay packages to choose from that match all different kinds of themes and aesthetics.
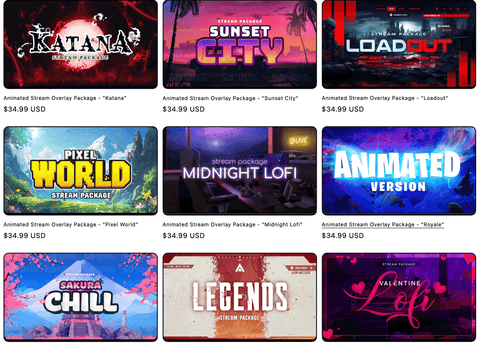
I'll be using the Pixel World animated overlay package today.
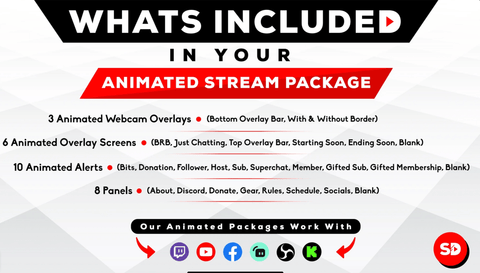
These packages come with everything that you need to make your stream look professional. There are overlays for all of the scenes that we just made in these packages. You can see what all is included below.

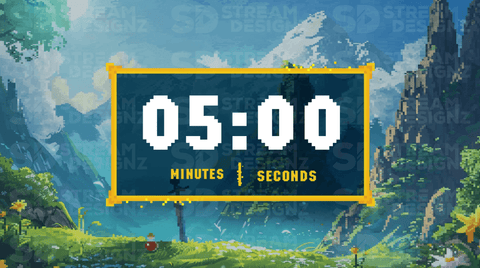
The countdown timer is sold separately, but the nice thing about Stream Designz is that every overlay package has a matching countdown timer!
Once you have your overlays and countdown timer picked out, head back over to Streamlabs so that we can start to add these.
If you purchased a package from Stream Designz, these are going to download as a zip file that you do need to unzip before you can use it. If you're on a Mac, all you need to do is double-click the zip file and it will create a new folder with all of the files in it. If you're on a Windows, right-click the zip file and select 'Extract'. This will also create a new folder with all of the files. Now, you're ready to use these.
Under 'Scenes', make sure that you have 'Starting Soon' selected, and then press the plus sign icon next to 'Sources'. You'll have two options here: if you're using static overlays, you'll select 'Image', but if you're using animated overlays, you'll select 'Media File'.
I will be using animated overlays, so I'll select 'Media File', press 'Add Source', and I'll name this "Start". Press 'Add Source' again and then it will ask you to locate the file for the overlay that you want to use. Once you find the file for 'Starting Soon', select it, and press 'Open'. You will want to select 'Loop' under the options for the overlay. Press 'Close' and you should be able to see your overlay on your screen.
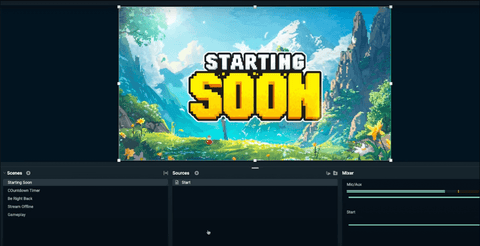
Let's go ahead and lock this so that it doesn't move. To do this, hover your mouse above the 'Start' source and it will be the lock-shaped button furthest to the left.
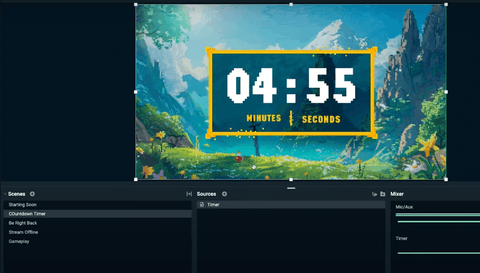
Next, we can add our Countdown Timer.
To do this, we'll follow the same steps as before. Start by selecting 'Countdown Timer' under 'Scenes', and then press the plus sign icon under 'Sources'. Select 'Media File', and then this time you're going to select 'Add a New Source Instead'. Let's name this "Timer", and press 'Add Source'. Then, you'll locate the file.
Since the countdown timer is sold separately on Stream Designz, this will be in a different folder than the rest of your overlay package, and you will also need to unzip this before you can use it.
For your countdown timer, you do not want to select 'Loop'. Once the timer runs out, you'll want to move on to the next scene and not have the timer restart. Now, we have our countdown timer.
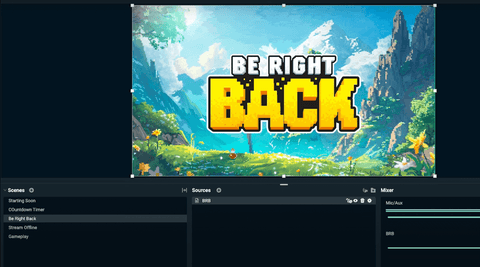
Next, we're going to add our 'Be Right Back' overlay.
Once again, you'll need to select 'Be Right Back' under your scenes, then you'll press the plus sign icon next to 'Sources'. Select 'Media File', press 'Add Source', let's name this "BRB", and then select 'Add Source' again. Now, you'll locate the file which will be in the folder with the rest of the overlay package that you downloaded. You can find the file inside the folder titled "Overlay Screens".
You will want to select 'Loop' for this one. It's a great scene to have in case you have to go to the bathroom or just step away for a minute. It gives your viewer something to look at rather than an empty chair or a black screen.
Once you have this in place, go ahead and lock this just like you did for the 'Starting' source.
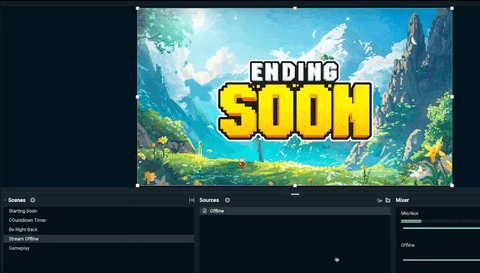
Now, we'll add the 'Stream Offline' overlay.
Be sure to select 'Stream Offline' under 'Scenes' and then press the plus sign icon under sources again. Select 'Media File', press 'Add Source', and let's name this "Offline". Press 'Add Source' again and locate the file for your 'Stream Offline' overlay. If you purchased this from Stream Designz, the file will be titled "Ending Soon".
You will want this source to loop, so make sure that's selected. This is going to be the scene that you'll switch to when you're getting ready to wrap up your stream. This way your viewers will still have something to look at as the music is still playing and you're saying your goodbyes before ending the stream.
Lastly, we have the 'Gameplay' scene. This is going to be the scene that you'll spend the most time in. This is also the scene that will require you to have your camera, chat, alerts, stream labels, and everything else to make sure that your stream looks professional.
Be sure to select this scene before pressing the plus sign icon under 'Sources'. Then, select 'Media File', and press 'Add Source', then when you go to locate your file, you'll see that there are options for an overlay bar, webcam overlays, and alerts.
To set up your gameplay scene, go ahead and check out this video here! It will walk you step-by-step through setting up this scene inside Streamlabs so that it looks professional and put together.
![How to Add Overlays in OBS Studio (Complete Streaming Setup Guide) [2026]](http://www.streamdesignz.com/cdn/shop/articles/Thumbnail_1_917415b4-0055-48d9-9f13-46b188205824.png?v=1782571692&width=1920)


How to Stream to Twitch & YouTube Shorts Using Streamlabs
How to Setup a Gameplay Scene in Streamlabs