Disclosure: Some of the links below are affiliate links. This means that, at zero cost to you, I will earn an affiliate commission if you click through the link and finalize a purchase. Learn more!
In this tutorial, I'll be explaining to you step-by-step how to set up a custom 'Stinger Transition' directly in Streamlabs.
Adding Your Stinger Transition
The first thing that you're going to want to do is get Streamlabs desktop opened up and ready to go. If you do not already have this, you can download it here.
What we're going to be doing today is making it so that when you switch between scenes, it isn't so boring. We want to create some kind of animation.
On the right-hand side, you'll find a button that says 'Edit Scene Transition'.
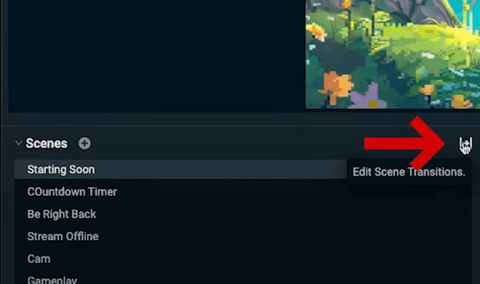
Click on this and then select 'Add Transition'. We're going to name this "Stinger" and then under type, you'll select 'Stinger' as well. This is going to go ahead and ask you to input your 'Video File' which will be your 'Stinger Transition' overlay.
I'll be using a stinger transition overlay from Stream Designz. There are tons of different stinger transitions and animated overlay packages for you to choose from based on the theme that you're going for.
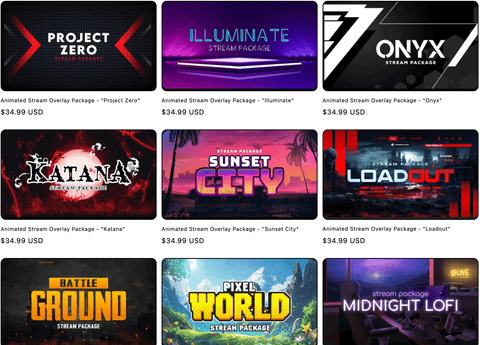
If you don't want to buy a full overlay package, you can buy just the stinger transitions by themselves.
Today, I'm using the 'Pixel World' overlay package and stinger transition which you can see below.

You can check out this link here if you want to watch what the transition will look like. It's a fairly simple transition, but it will really help to take your stream to the next level and make sure that everything looks professional. You can of course use any stinger transition that you would like.
Adjusting Your Stinger Transition Settings
Once you have your stinger transition, you'll head back to Streamlabs and select 'Browse'.
If you purchased an overlay package or any of the stinger transitions from Stream Designz, they will come downloaded as a zip file. Before you can use them, you need to unzip the file. If you're on a Mac, double-click on the zip file and this will create a new folder with the overlays inside of it. If you're on a Windows, right-click the zip file and select 'Extract'. This will also create a new file with the unzipped overlays inside of it. Now, your overlays are ready to be used.
With these ready to be used, select the file for the stinger transition and press 'Open'.
For 'Transition Point Type', we'll leave this set to 'Time'.
Very important, for 'Transition Type', you'll want the stinger transitions to happen first and then you want the next scene to show up. If you got your stinger transition from Stream Desingz, you'll set this to '1500'. This seems to be the sweet spot, but you can of course tweak this if you see fit. If it's taking too long, lower the number, and if it's not long enough, increase it.
For 'Audio Monitoring', I like to leave this off. However, for 'Audio Fade Style', I like to set this to 'Crossfade'. What this means is that when you switch scenes, it will not abruptly stop your audio. It will just fade into the next scene which gives the viewers a better experience.
Then, for 'Fit to Output', I leave this set to 'Stretch to Output'.

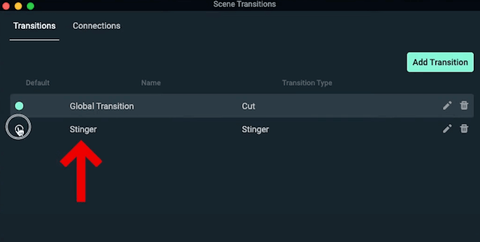
Now, you can press 'Done'. Here, you'll want to select "Stinger" and press 'Done' again.
Once you do this, you can switch between your scenes and you'll be able to see the transition in action.
This is just another element that will make your stream look more professional.
If you want to learn how to add a countdown timer in Streamlabs to help build up hype for your stream, click here. This video will walk you through step-by-step how to add your countdown timer.

Share:
Streamlabs Adding Twitch Chat Overlay to Your Stream
How to Add a Countdown Timer in Streamlabs