Disclosure: Some of the links below are affiliate links. This means that, at zero cost to you, I will earn an affiliate commission if you click through the link and finalize a purchase. Learn more!
In this tutorial, I'll be explaining to you step-by-step how to set up your Sub Badges directly inside Twitch.
Getting Started
The first thing that you're going to do is to get Twitch opened and to get logged in. Then, click on your profile icon and come to where it says 'Creator Dashboard'.

On the left-hand side, you'll go to where it says 'Monetization' and then select 'Subscribers'. This is what you're going to see if you are an Affiliate or a Twitch Partner.
Once you're here, you'll come to where it says 'Subscriber Badge'.
It's going to go ahead and prompt you to put in a base badge, a two-month badge, a three-month badge, a six-month badge, a nine-month badge, and a one-year badge.
For this example, I'll be utilizing a sub badge from Stream Designz. They have tons of different options for sub badges and some of them even match the animated overlay packages that Stream Designz also offers.
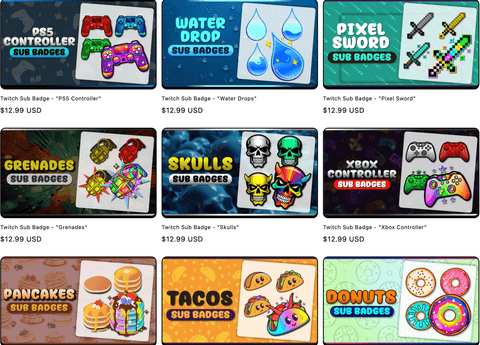
Today, I'll be using the 'Pixel Sword' sub badge pack.
You can see what each of these looks like below.

You can see that it will give you the one-month, two-month, three-month, six-month, nine-month, and twelve-month badges.
Adding Your Sub Badges to Twitch
Once you have your sub badges, head back over to Twitch.
What you'll do first is select 'Base' under 'Manage Badges' and then upload the image for the badge.
If you purchased your sub badges from Stream Designz, they will come downloaded as a zip file and you will need to unzip these before you can use them. If you're on a Mac, simply double-click the zip file and this will create a new folder with the unzipped files. If you're on a Windows, right-click the zip file and select 'Extract'. This will also create a new folder with the unzipped files in it. Now, your sub badges are ready to be used.
With your files unzipped, you'll look for the folder, and you'll be able to see that each month's badges come in their own folder.
We'll open up folder '1' and select '18x18'. Then, click on the second box and add in the '36x36', and lastly, add the '72x72' to the third box.
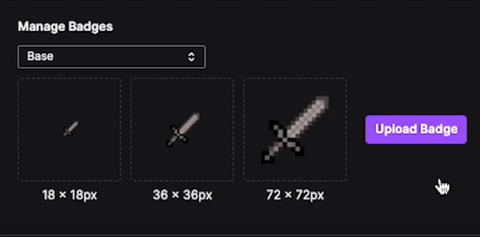
Once you add in each of these, you'll select 'Upload Badge' and then click 'Save'. Now, you'll be able to see that your 'Base' under 'Current Badges' will be the files that we've just uploaded.
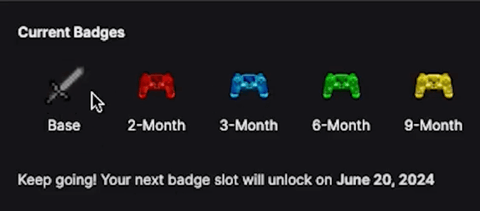
The process will be the exact same for the rest of these.
You'll go back to 'Manage Badges' and just work your way through adding these the same way as you did for the one-month badge.
You'll select the month under 'Manage Badges', go to the first box and press 'Upload Image', and then you'll locate the correct month's folder. Then, you'll start by adding the '16x16', next the '36x36', and lastly, the '72x72'.
What you're going to want to do once you have all of these completed is to add sub emotes as well. Go ahead and check out this video here where I'll walk you through step-by-step how to set up sub emotes for your Twitch account.
![How to Add Overlays in OBS Studio (Complete Streaming Setup Guide) [2026]](http://www.streamdesignz.com/cdn/shop/articles/Thumbnail_1_917415b4-0055-48d9-9f13-46b188205824.png?v=1782571692&width=1920)


How to Setup YouTube Sub Badges
OBS Studio Adding YouTube Chat Overlay to Your Stream