
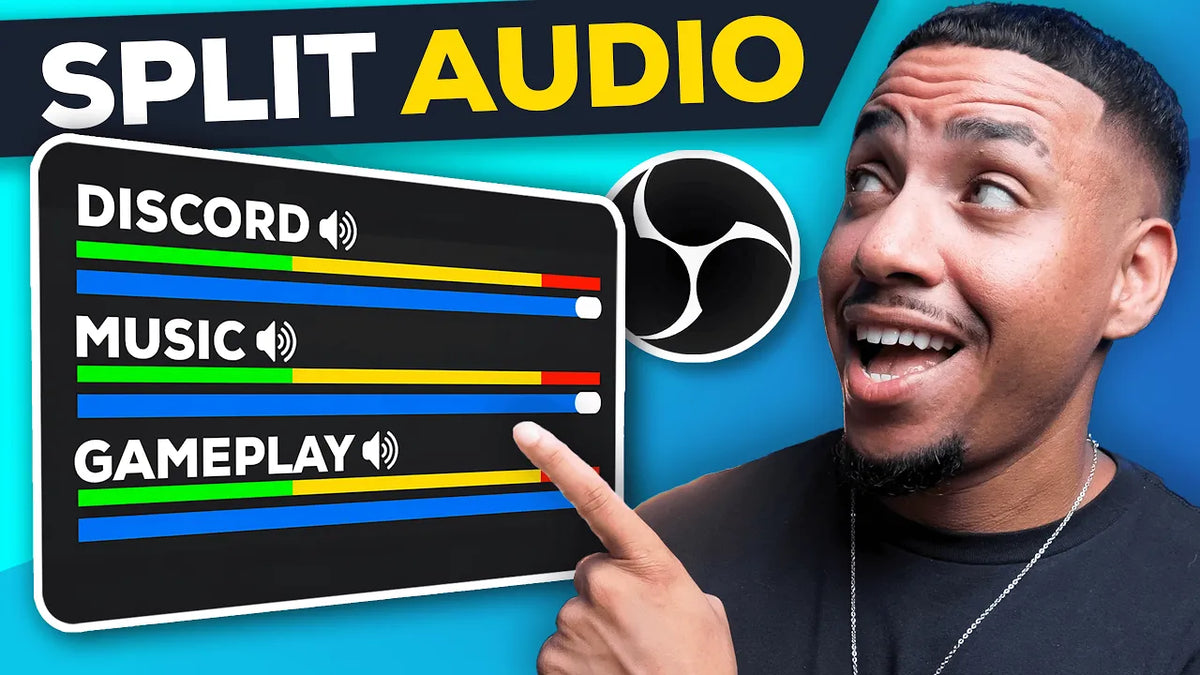
In this article, I'm going to show you how to split audio in OBS Studio so your mic, alerts, music, browser, Discord and game sound each land on their own track. By the end, you'll be able to control every part of your audio while you stream, and fix it in your editor after you record.
The process is almost the same on Mac and Windows. I'll point out the naming difference as we go.
Why Split Your Audio in OBS Studio?
By default, OBS mixes everything together. Your mic, your game, your Discord and your music all end up on one audio track, which means one volume for everything.
When you split them into separate tracks, you can remove the game sound, lower the music, or delete your alerts in your editor without touching anything else. It also makes it easier to control every aspect of your audio while you're live.
Step 1: Turn Off Your Global Audio Devices
Open OBS Studio and go to Settings, then Audio. Under Global Audio Devices, disable everything.
- Disable your desktop audio. If you leave it on, you'll run into echo and looping.
- Disable your mic if it was enabled. We'll add it a more efficient way so it works in every scene.
Select Apply, then OK.

Step 2: Open the Apps You Want to Capture
Before you add anything, close OBS Studio and open the apps you want to capture: Discord, your music app, your browser and your game. If you game through a capture card, just have the game on and the card connected.
Join a Discord chat with a friend (or join from your phone) so some audio is coming through. These apps need to stay open and active while you stream or record. They can sit behind other windows, but if you minimize one, the audio can stop coming through. Then reopen OBS Studio.
Step 3: Create One Scene Just for Audio
On the left, under Scenes, press the plus icon and create a scene just for your audio. I name mine "Split Audio Setup," but name it whatever works for you.
Think of this scene as a folder. You'll put all of your audio in it once, then drop it into every other scene. When you need to change something, you change it in one spot and it updates everywhere.

Step 4: Add Your Microphone
Under Sources, press the plus icon and choose Audio Input Capture. Select Add a new audio capture, choose your microphone and press OK. This is the same on Mac and Windows.
Right-click the source and rename it "Mic." OBS won't let you have two sources with the same name, so keep your names clear.

Step 5: Add Your Game Sound
How you add your game depends on how you play.
- Capture card: Choose Audio Input Capture, then select your capture card (mine is an Elgato HD60 X). Rename the source "Game Sound."
- Gaming on your PC, video and audio: Choose Window Capture, pick your game under Window, select Match Title, otherwise find window of same type, and check Capture Audio. If your game is already added, you can just turn on Capture Audio there.
- Gaming on your PC, audio only: On Windows, choose Application Audio Capture, select your game, then pick the option to find windows of the same executable. On Mac, this is called macOS Audio Capture.


Step 6: Add Discord
Press the plus icon and choose Application Audio Capture (macOS Audio Capture on Mac). Select Discord from the list. On Windows, choose the Match option as well, then press OK. Right-click the source and rename it "Discord."


Step 7: Add Your Music
If you play music from an app like Apple Music, have it open, press the plus icon, choose Application Audio Capture (macOS Audio Capture on Mac) and select your music app. Rename the source "Music."
That said, this is not my preferred method. I download MP3 files from a site that allows copyright-free music and add them directly to OBS as one playlist. When you use platforms like Spotify or Apple Music, you're always at risk of copyright claims and demonetization, and that's the last thing you want. I show my method here: How to Add Background Music in OBS: Easy Playlist Setup.

Step 8: Add Your Alerts
I keep my alerts in their own source so I can use them across multiple scenes, like gameplay and just chatting. Right-click the alerts source, choose Properties and check Control audio via OBS. Now you can adjust the alert volume and record the alerts separately, so you can remove or add them later. If you haven't added alerts to OBS yet, here's my walkthrough for YouTube: How to Setup YouTube Alerts in OBS Studio.
Then go back to your audio scene, press the plus icon, choose Scene and select your alerts scene.


Step 9: Add Your Browser Sound
If you react to videos or want to capture sound from your browser, press the plus icon, choose Application Audio Capture (macOS Audio Capture on Mac) and select your browser. Mine is Google Chrome. Pick the browser, not a tab, so it doesn't matter which tab you're on. Whatever sound comes from that browser comes through. Rename the source "Browser."
Step 10: Record All Six Audio Tracks
Go to Settings, then Output.
- Streaming: Audio track 1. If you want a Twitch VOD track, you can make that track 2.
- Recording: Select audio tracks 1 through 6. If you only need to split three things, only select three.
Select Apply, then OK.

Step 11: Assign Each Source to Its Own Track
Click the gear icon under the Audio Mixer. Here's what most people miss: by default, every source is checked on every track. If you leave it like that and press record, every sound is mixed together and nothing is divided.
The easiest fix is to uncheck everything first, then assign each source on purpose. This is the setup I use:
- Track 1: Everything mixed together (this is also your stream track)
- Track 2: Everything except music and browser (this is what your Twitch VOD saves)
- Track 3: Game sound only
- Track 4: Discord only
- Track 5: Music, alerts and browser
- Track 6: Your mic by itself (your mic is also in the mixes on tracks 1 and 2)
That's six tracks in total: two mixes (tracks 1 and 2) plus four split tracks (tracks 3 to 6). You can use any order you like. OBS only gives you six tracks, so if you have more sources than that, decide which ones to pair together. I pair music, alerts and browser so my mic can have a track of its own.
Keeping music off track 2 matters if you play copyrighted music. Viewers still hear everything live on track 1, but your VOD doesn't include the music.
Don't skip the mic track. Your mic sits in the mixes on tracks 1 and 2, and it also goes on track 6 by itself. That way you can fix your voice in your editor without touching anything else.


Step 12: Balance Your Levels
Don't leave everything at the same level. Build off your mic, because your mic should be the most dominant thing on your stream. These are ballpark starting points. Every game, mic and voice is different, so tweak from here (to the right is louder, to the left is lower).
- Mic: -6. It should stay in the yellow and never reach the red.
- Discord: -15. You can hear your teammates, but they don't overpower you.
- Alerts: -20
- Music: -25
- Game sound: -30. It's typically the loudest, so I bring it down.
- Browser: -30. I treat it like game sound.

Step 13: Hear Yourself (Monitoring)
If you want to hear your mic, the cleanest and lowest latency option is the 3.5 millimeter jack that most mics have, which lets you monitor yourself directly. You can also turn on Monitoring Enabled for any source you want to hear. Do a test recording to make sure you don't hear any looping.
Step 14: Add Your Audio Scene to Every Other Scene
Go to another scene, like Starting Soon or Just Chatting, press the plus icon, choose Scene and select the audio scene (Add Existing). Do the same in your other scenes.
When you need to make a change, go back to the master audio scene. Whatever you change there changes everywhere else.
- Music app not connecting? Make sure the app is open and active, then right-click the source, open Properties and switch between Desktop Audio and Application Audio.
- Switching games? Right-click your game source in the audio scene, open Properties and select the new game. You don't have to change it in every scene.

Step 15: Test It and Separate the Tracks in Your Editor
Record 10 to 15 seconds with your music playing, a browser video playing and a friend talking in Discord. Stop recording and open the file.
It will look and play like one clip with one audio track. That's track 1, everything combined, and it's normal. You didn't do anything wrong.
Bring the clip into your editor (I use CapCut). If it says the clip contains multiple audio tracks, press OK. Right-click the video and open Audio Tracks and you'll see six. Then:
- Right-click the video and extract the audio. This is the full mix, track 1.
- Copy and paste that audio until you have six audio clips.
- Right-click each one, go to Audio Track and set them to 1, 2, 3, 4, 5 and 6.
Now you can lower the music without changing your mic volume, delete your alerts, or remove the browser sound. Keep in mind the names you gave your sources in OBS don't carry over. You'll see track 1 through track 6, so you need to know which is which. Your editor may let you rename them.

Common Mistakes to Avoid
- Leaving desktop audio enabled in Global Audio Devices, which causes echo and looping.
- Minimizing the apps you're capturing, which can cause audio issues.
- Leaving every track checked in the Audio Mixer, which mixes everything together.
- Thinking something is wrong when your recording shows one clip. It's one clip with six tracks inside.
- Forgetting which track is which, since OBS names don't carry over to your editor.
- Forgetting to put your mic on a track by itself.
Next Step: Learn the Content Side of Streaming
Now that you understand the streaming side, which is the technical setup, the next step is understanding the content side. Going live is only half of it. Content is how people actually find you, and that's what I teach inside The Streamer Academy Pro™.
If you want to learn how to become a full-time streamer, and it's not luck, check out The Streamer Academy Pro™ Community to learn the content side of streaming.
Watch this next: once your audio is split, make your mic sound as good as it can with How to Improve Your Mic Quality in OBS Studio (3 Audio Filters).
How to Stream to YouTube Using OBS in Horizontal and Vertical (Dual Stream Setup)