
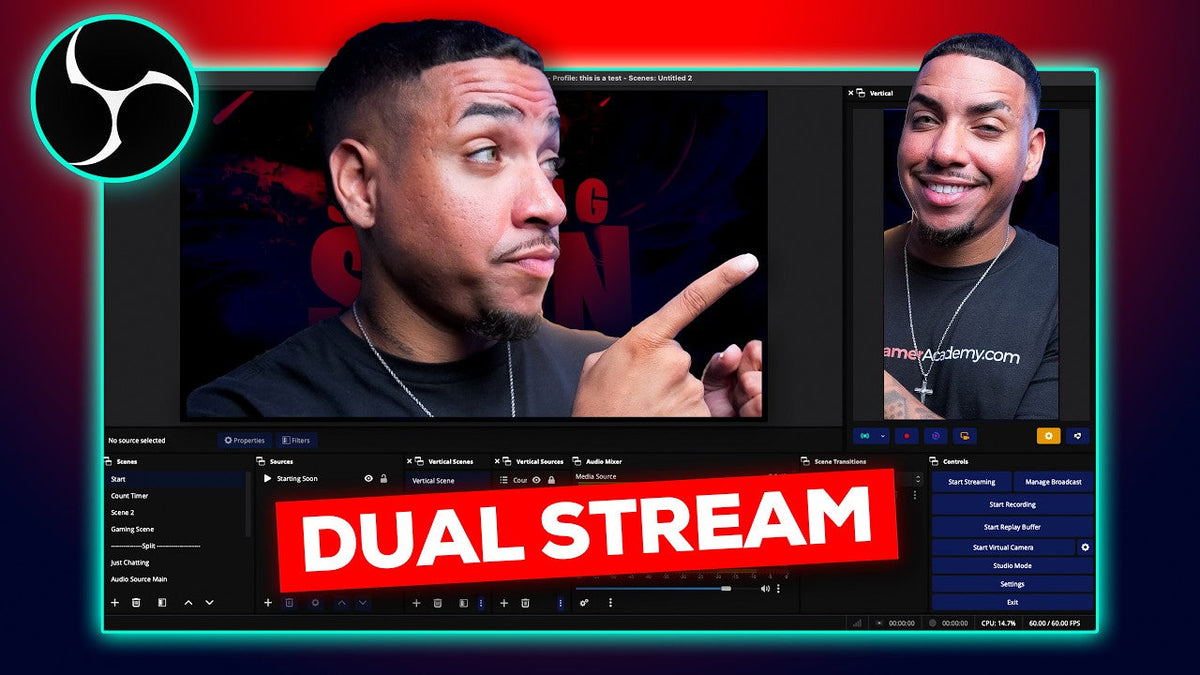
In this article, I'm going to show you how to go live to YouTube in horizontal and vertical at the same time, using one stream and one chat. By the end, you'll have OBS Studio set up to reach both your regular viewers and the people scrolling YouTube's Shorts feed.
Why Stream in Both Horizontal and Vertical?
YouTube has a feature called Dual Stream. When it's on, YouTube decides which version to show each viewer. If someone is watching in the Shorts feed, they see your vertical stream. Everyone else sees the horizontal one.
Vertical helps you get discovered. Horizontal gives your viewers a better, more intimate experience because they can see more on screen and engage more. You get both with a single chat, which makes it easy to manage.
Turning On Dual Stream in YouTube
From your channel, select 'Create' at the top and then 'Go Live.' On the left-hand side, select 'Stream.' You'll most likely see a horizontal layout. Look in the left-hand side for 'Dual Stream' and make sure it's toggled on.

Installing the Aitum Plugins
Out of the box, OBS only gives you a horizontal canvas. To add a vertical layout and send both streams at once, you need two free plugins from Aitum.tv.
- Aitum Vertical: lets you build a separate vertical layout for your viewers.
- Aitum Multistream: lets you send horizontal and vertical to YouTube at the same time, and makes it easy to add other platforms later.
Aitum also offers a larger Stream Suite that includes these plugins, but it adds features you don't need for this. More things to worry about means more chances for errors, so I keep it simple and install only these two. You may need to restart OBS. If they don't show up, go to 'Docks' and turn on Vertical and Aitum Multistream.

Connecting Your Horizontal Stream
In YouTube, copy your horizontal stream key. In OBS, open Aitum Multistream, select the gear icon, and choose 'Main canvas.' Select 'Add output,' choose YouTube, and pick the Primary YouTube Ingest Server. Paste your stream key and select 'Create output.'
Keep your stream key private. Anyone who has it can go live on your channel.
Open the dropdown on your new YouTube horizontal output and toggle on 'Advanced.' Under Video Encoder, use the settings that work for your machine. In general:
- Use H.264 for streaming. HEVC is better suited to recording.
- Use 60 FPS for gameplay, or 30 FPS for talking-head streams.
- Set your keyframe interval to 2 and your profile to High.
- Choose your bitrate based on your upload speed, which you can test at speedtest.net. I send 24,000 on my horizontal stream, which calls for at least 40 Mbps of upload. If you're unsure, 10,000 is a good sweet spot for a 1080p stream.
If you don't know your best settings, go to Tools and run the Auto-Configuration Wizard in OBS.


Connecting Your Vertical Stream
Back in YouTube, the vertical setting may default to 'Auto crop.' Change it to 'Encoder.' If you leave it on auto crop, YouTube just centers your horizontal video, which isn't a good experience for viewers.
Copy the vertical stream key, then go back to Aitum Multistream. Select the gear icon, choose 'Vertical canvas,' add a YouTube output, and paste the key. Under 'Advanced' and 'Video Settings,' select 'Vertical Encoder.'

Adjusting the Vertical Plugin Settings
Vertical should use different settings from horizontal. People watching vertical are mostly on mobile and may not be on Wi-Fi, so stability matters more than raw quality. Open the Vertical plugin and select the gear icon at the bottom, then go to 'Streaming.'
- Turn on 'Start and stop streaming when main OBS starts and stops streaming.'
- Select the same video encoder you chose for your vertical output.
- Set rate control to CBR, keyframe interval to 2, and profile to Main.
- Set the vertical video bitrate. I use 13,500 for stability, since many vertical viewers are on mobile and may not be on Wi-Fi.
Add up both streams: 24,000 horizontal plus 13,500 vertical is 37,500 kbps. To send both at the same bitrates I do, you'll want at least 80 Mbps of upload speed. If your internet is slower, lower your bitrates to match. Test your speed at speedtest.net first.
Don't worry if your settings look slightly different. The ones that matter across every setup are profile, keyframe interval, bitrate, rate control, and video encoder. Running two streams puts more load on your computer, so finding the right settings for your setup is what matters most.

Testing Your Stream Unlisted
Before going public, test it. In YouTube, select 'Edit' and set Visibility to 'Unlisted.' That lets you share the link with a few people to check quality and sound without YouTube promoting it. When you're ready, switch it to public. This is also where you set your title, thumbnail, and other details.
Your stream key doesn't normally change between streams, but it's worth checking before you go live.
Latency, DVR, and Replay Settings
- Ultra-low latency: chat feels almost instant, but it's only available for 1080p streams.
- Low latency: a delay of one to a few seconds, and it works for 1440p and 4K. This is what I use most of the time.
- Normal latency: a slightly longer delay.
- Enable DVR: lets viewers rewind to the start while you're live.
If you want your live streams to become videos on your channel, leave the option to unlist the replay turned off.
The Most Important Step: How to Actually Go Live
Don't click 'Start Streaming' in the bottom right of OBS. That sends your stream to whatever destination is set in the normal OBS stream settings, not to YouTube through your custom keys.
Instead, use the green icons in the Aitum Multistream dock. With Dual Stream on, you need to start both the horizontal and vertical outputs. If you forget the second one, the stream won't start. Once you're live, you can shut off one of them and the other keeps running.
In YouTube, you'll see both streams showing, with a single chat that works for both. A small delay is normal for live streaming.


How to End Your Stream Cleanly
End the stream in YouTube first, then stop the outputs in OBS. If you stop OBS first, YouTube can show a blank screen at the end of your replay. Note that the replay will only include the horizontal version.
Make Your Horizontal and Vertical Layouts Look Professional
I use Stream Designz overlays for both layouts. Each bundle includes horizontal and vertical versions in the same style, plus emotes, sub badges, countdown timers, and everything you need to start or grow your stream.
Next Step: Learn the Content Side of Streaming
Now that you understand the streaming side, which is the technical setup, the next step is understanding the content side. Going live is only half of it. Content is how people actually find you, and that's what I teach inside The Streamer Academy Pro™.
If you want to learn how to become a full-time streamer, and it's not luck, check out The Streamer Academy Pro™ Community to learn the content side of streaming.
To see how to set up all your overlays in OBS Studio, watch this video next: Setup Vertical Overlays
3 Audio Filters for Pro Sound in OBS