Disclosure: Some of the links below are affiliate links. This means that, at zero cost to you, I will earn an affiliate commission if you click through the link and finalize a purchase. Learn more!
In this tutorial, I'll be walking you through step-by-step how to set up 'Emotes' for your YouTube Stream Chat.
Getting Started
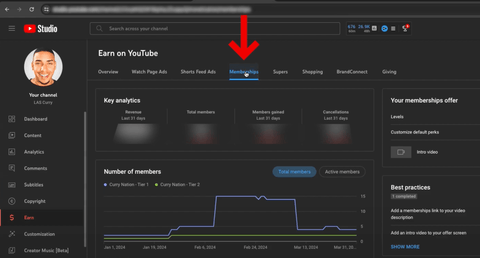
The first thing that you're going to want to do is get logged in to your YouTube account. Once you're logged in, you'll click on your profile icon and select 'YouTube Studio'. This will bring you to the studio page. From here, you'll select 'Earn'.
Now, to have access to add your emotes, you do need to be a part of the YouTube Partner Program.
Once you're on the 'Earn' page, you'll go to 'Memberships'.
Then, go to where it says 'Customize Default Perks'. Select the pencil icon and then you'll see an option for 'Emoji'.
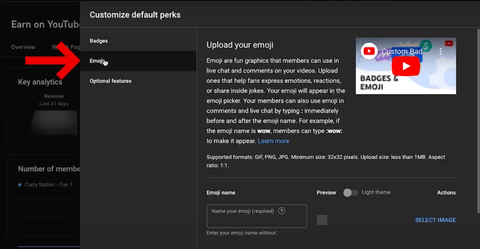
Here, you'll have the option to be able to upload up to seven emotes. You'll also see that as you get more members, you'll gain access to more emotes.
These emotes can be either static or animated depending on your preference. For me, I'm going to be using emotes from Stream Designz. There are lots of different options of emotes for you to choose from, and most of them have a matching overlay package if you're interested in leveling up your entire stream.

Today, I'll be using the 'Loadout' emotes.
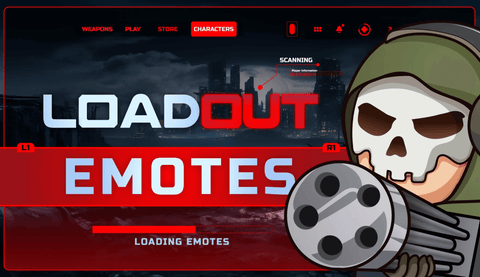
This will come with your 'Heart', 'Lurk', 'Bam', 'Like a Boss', 'Raid', 'ZZZ', 'MVP', and 'RIP'.

These will definitely help to make your stream look more professional and put together.
Adding Your Emotes
Once you have your emotes, you can head back over to YouTube.
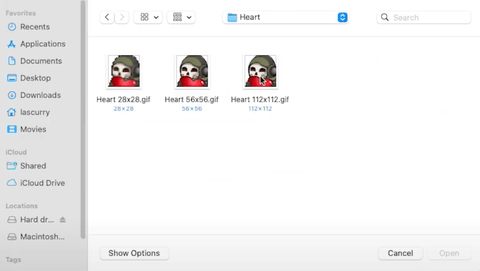
If you purchase your emotes from Stream Designz, they'll come downloaded as a zip file and you'll need to unzip them before you can use them. If you're on a Mac, double-click the zip file and it will create a new folder with the emotes in it. If you're on a Windows, right-click the zip file and select 'Extract'. This will also create a new folder with the unzipped emotes inside of it. Now, your emotes are ready to be used.
With these ready to be used, press 'Select Image' next to one of the 'Emoji Name' slots on YouTube.

Another thing to note if you downloaded your emotes from Stream Designz, you'll have both a static and an animated version of these which you can choose from. For YouTube, you can use either of these options, so we're just going to go ahead and use the animated emotes.
First, I'll select the 'Heart' folder and then click on the '112x112' file.
Then, press 'Open', and you'll be able to see the animation. You can also toggle on/off the ability to see it in the light and dark theme.
Now, you'll need to give a name to your emote. Typically, I'll just put exactly what it is, so I'll just name it "Heart".
Next, press 'Select Image' for the second emote. Locate the file for 'Lurk', select the '112x112' file, and press 'Open'. Then, name this "Lurk".
Continue to do this with all of the other emotes, following the same steps, and when you're done, select 'Save and Publish'.
At this point, YouTube is going to review the emotes to make sure that they are following guidelines. Sometimes you'll get these back right away, other times it can take up to 24 hours.
The next thing that you're going to want to do is to set up sub badges so that people will have an icon by their name as they follow your account. You can watch a step-by-step tutorial here where I'll walk you through this.

![How to Add Overlays in OBS Studio (Complete Streaming Setup Guide) [2026]](http://www.streamdesignz.com/cdn/shop/articles/Thumbnail_1_917415b4-0055-48d9-9f13-46b188205824.png?v=1782571692&width=1920)

OBS Studio Adding YouTube Chat Overlay to Your Stream
How to Setup Twitch Emotes